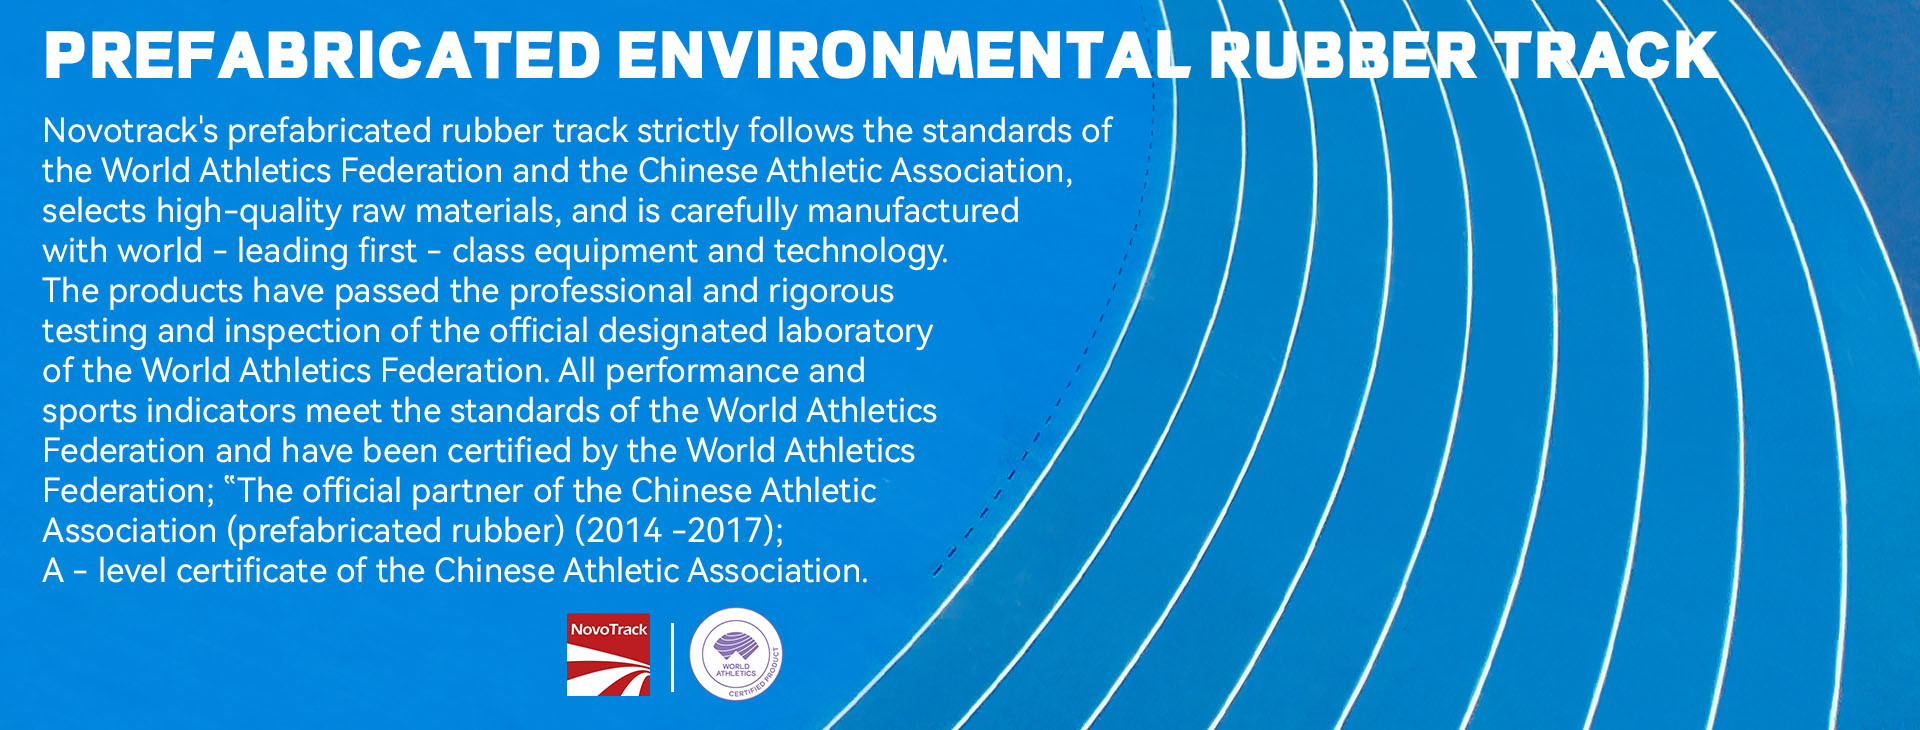
Prefabricated Rubber Tracks: The Backbone of Global Athletics
1. The foundation should be smooth enough and without sand. Grinding and leveling it. Be sure it does not exceed±3mm when measured by 3m straightedges.
2. Follow the daily construction plan to place the prefabricated rubber running track in the designated location. Draw the baseline according to the provided drawing.
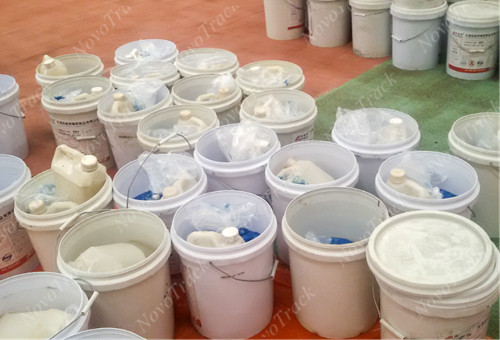
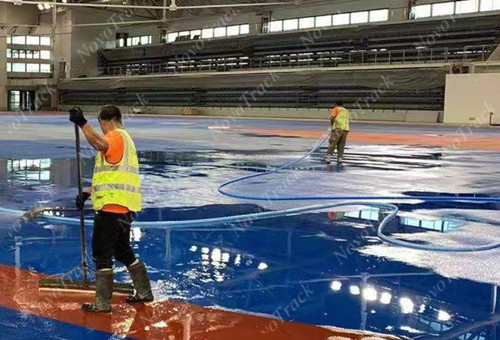
3. Stir the adhesive thoroughly to ensure a consistent mixture before application. Use the prepared adhesive within one hour to maintain its effectiveness.
4. Take the stirred adhesive to the required area and evenly spread it over 2-3 meters using toothed scrapers to ensure consistent and uniform coverage.
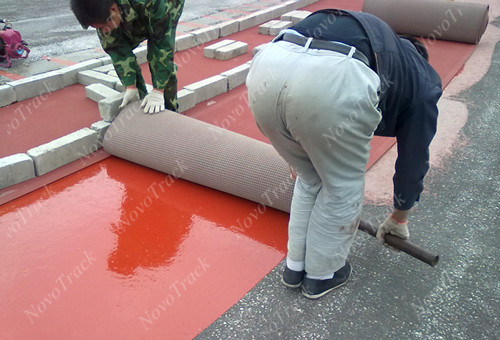
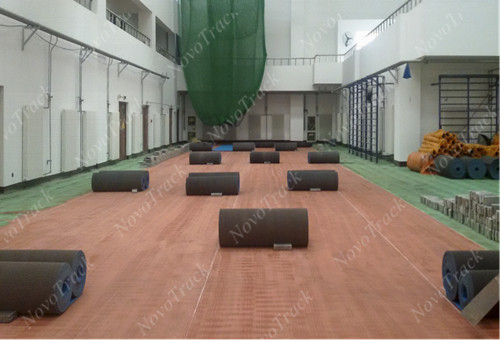
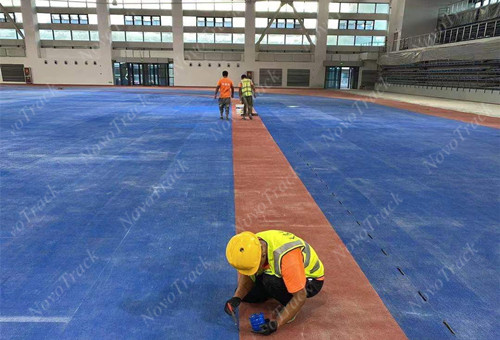
5. Place the rubber roll materials in the fixed position, carefully unfold them, and align them precisely to ensure a proper connection with the adhesive.
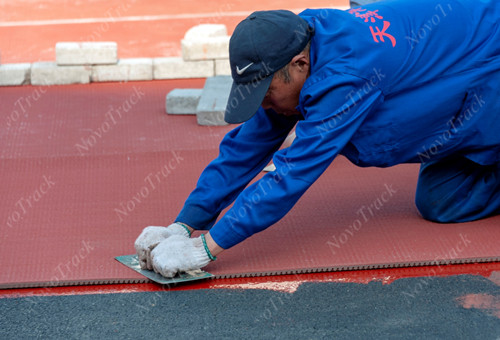
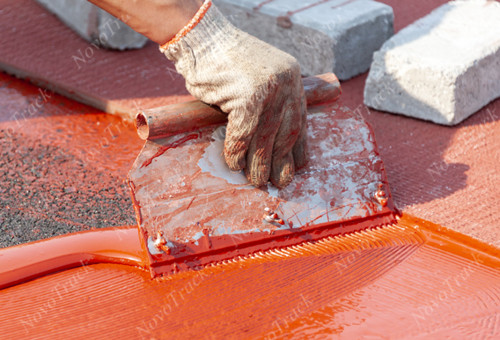
6. Use a special trowel to forcefully flatten the running track surfaces. Eliminate the air bubbles remaining in the bonding process of the roll and the base.
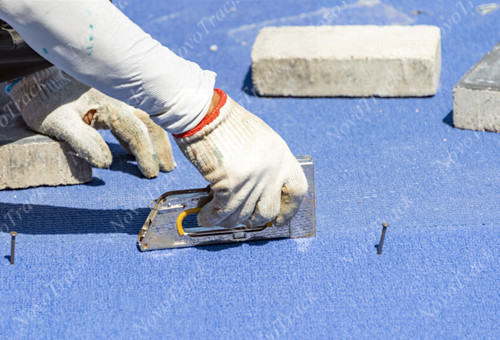
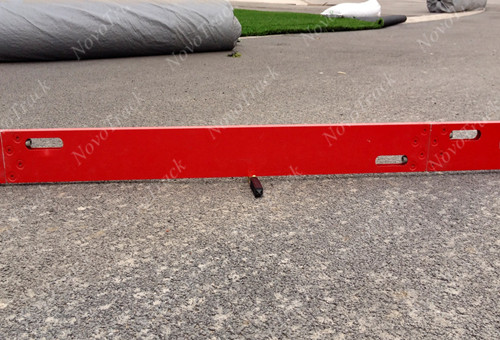
7. The gap should be securely sealed with nails to ensure stability, prevent movement, and maintain a seamless, durable, and professional finish.
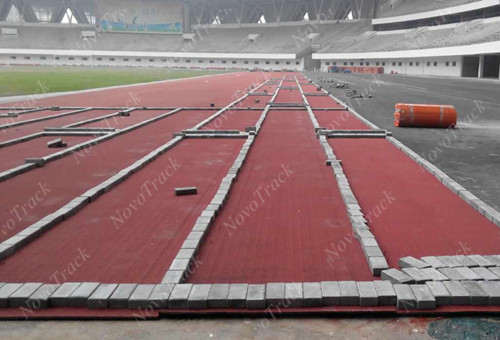
8. After being fixed with nails, press the area with bricks to ensure better connection and enhanced adhesion, allowing the adhesive to set properly.
9. Clear the athletics track of any debris, dirt, and foreign objects to create a clean and safe surface. This ensures proper performance and longevity of the track.
10. After completing the installation, inspect the entire field to ensure all gaps are filled with adhesive and smoothed. Finally, clean the entire field thoroughly and ensure it is kept clean.
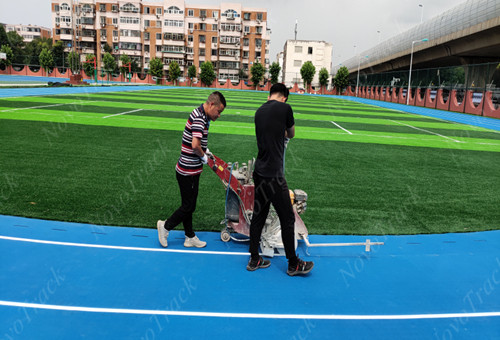
11. Mark the lines accurately according to the provided drawings, ensuring correct alignment and measurements for a precise and professional finish.
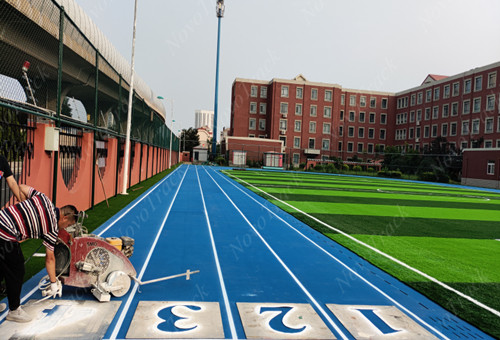
12. Extend the straight track line, and then mark the lane numbers clearly on the running track for easy identification, visibility, and accurate use.